
Setting Up SSL for Ghost on DigitalOcean with Lets Encrypt

After reading entirely too many articles and a lot of trial & error, I've written this guide on how to get HTTPS working on a DigitalOcean-powered, Nginx-backed Ghost blog using LetsEncrypt's free SSL certificates. For years people have argued whether it's worth setting up SSL on websites that have no inherent need for strong security (credit card processing, user logins, etc), but now that SSL certificates are free for anyone and Google is prioritizing HTTPS sites over non-HTTP sites there's no excuse not to.
While DigitalOcean's pre-made Ghost Droplet gets us pretty far, there's still a few steps to get HTTPS and your custom domain running.
The Guide
All steps are written from the viewpoint of a Ghost blog that was setup on DigitalOcean using it's one-click installer, but they're likely applicable to most Nginx/Ghost setups in general. Regardless you should probably be familiar with using a terminal and SSH — if you aren't I highly recommend brushing up via those links before you get started.
- If you already have a Ghost blog setup then skip to step 2. If not, go ahead and create a new droplet on DigitalOcean using the Ghost “One-Click App” install (Ghost 1.2.11 on Ubuntu 16.04 as of this writing — we'll update it to the latest Ghost version in a few steps!) with 512mb of memory[1] (the $5/month option). Feel free to choose whichever datacenter is closest to yourself (or your users), and add an SSH key so you can access your Droplet via your local terminal.
- Once the droplet is finished building, access your droplet over SSH via the terminal of your choosing with
ssh root@0.0.0.0, where0.0.0.0is the IP address of your droplet as listed in your account. If it prompts you to trust the RSA key typeyesand pressENTER. - Once you're inside your server (synonymous with “droplet”), run
apt-get update && apt-get upgrade -yto bring all Linux dependencies up to date. If it prompts you to setup mail config or provides a warning about the/root/grub/menu.lstI recommend choosing the default "No Configuration" and "Keep local..." unless you have reason to do otherwise. - Switch to the "ghost-mgr" user DigitalOcean already setup by running
su - ghost-mgr(su= switch user). - Install Node Version Manager (NVM) so we can easily update to a more recent version of Node by running
curl -o- https://raw.githubusercontent.com/creationix/nvm/v0.33.11/install.sh | bash. Activate thenvmbash alias by runningsource ~/.bashrcorexit'ing and switching back to theghost-mgruser. - Install Node v8.9.3 and set it as the default by running
nvm install 8.9.3 && nvm alias default node. You can check that the setup worked by runningnode -v, which should returnv8.9.3. - Install the Ghost CLI with
sudo npm i -g ghost-cliso we can easily upgrade to the latest version of Ghost (v1.23.0 as of current) now and upgrade easily in the future. - Run
cd /var/www/ghost/to switch into your project's folder, and thenghost updateto update to the latest version. - Next let's install LetsEncrypt's CertBot to get our SSL certificate — type
exitto go back to therootuser (or start a new SSH session as root) and install the CertBot package with...
sudo apt-get install software-properties-common
sudo add-apt-repository ppa:certbot/certbot
sudo apt-get update
sudo apt-get install python-certbot-nginx - Run
sudo certbot --nginxand follow the prompts along. Make sure to add a real email as they'll send you SSL renewal reminders, and select2: Redirectwhen prompted so all visitors are forced to the HTTPS version of your site. - Run
vim /var/www/ghost/config.production.jsonto edit theurlattribute to reflect your site's domain name (in my caseurl: "https://robertnealan.com",, exit, and then runghost restart(make sure you're in your project directory!). - Remove the default IP-based Nginx config by running
cd /etc/nginx/sites-available && ls, and then removing the IP address file withrm 0.0.0.0. Next open thedefaultconfig in vim and edit it to match the configuration file below, replacing all instances ofrobertnealan.comwith your own respective domain name[2]. - Run
service nginx restart— if you get any errors runnginx -tand it should point you to any syntax errors you might have made in the/etc/nginx/sites-available/defaultconf file. - Test
https://yourdomain.comto make sure that SSL is working properly...if it is then celebrate! 🎉 - Lastly, you'll want to set up a cronjob to automatically renew the certificate every 60 days or so, otherwise they'll expire after 90 days. First run
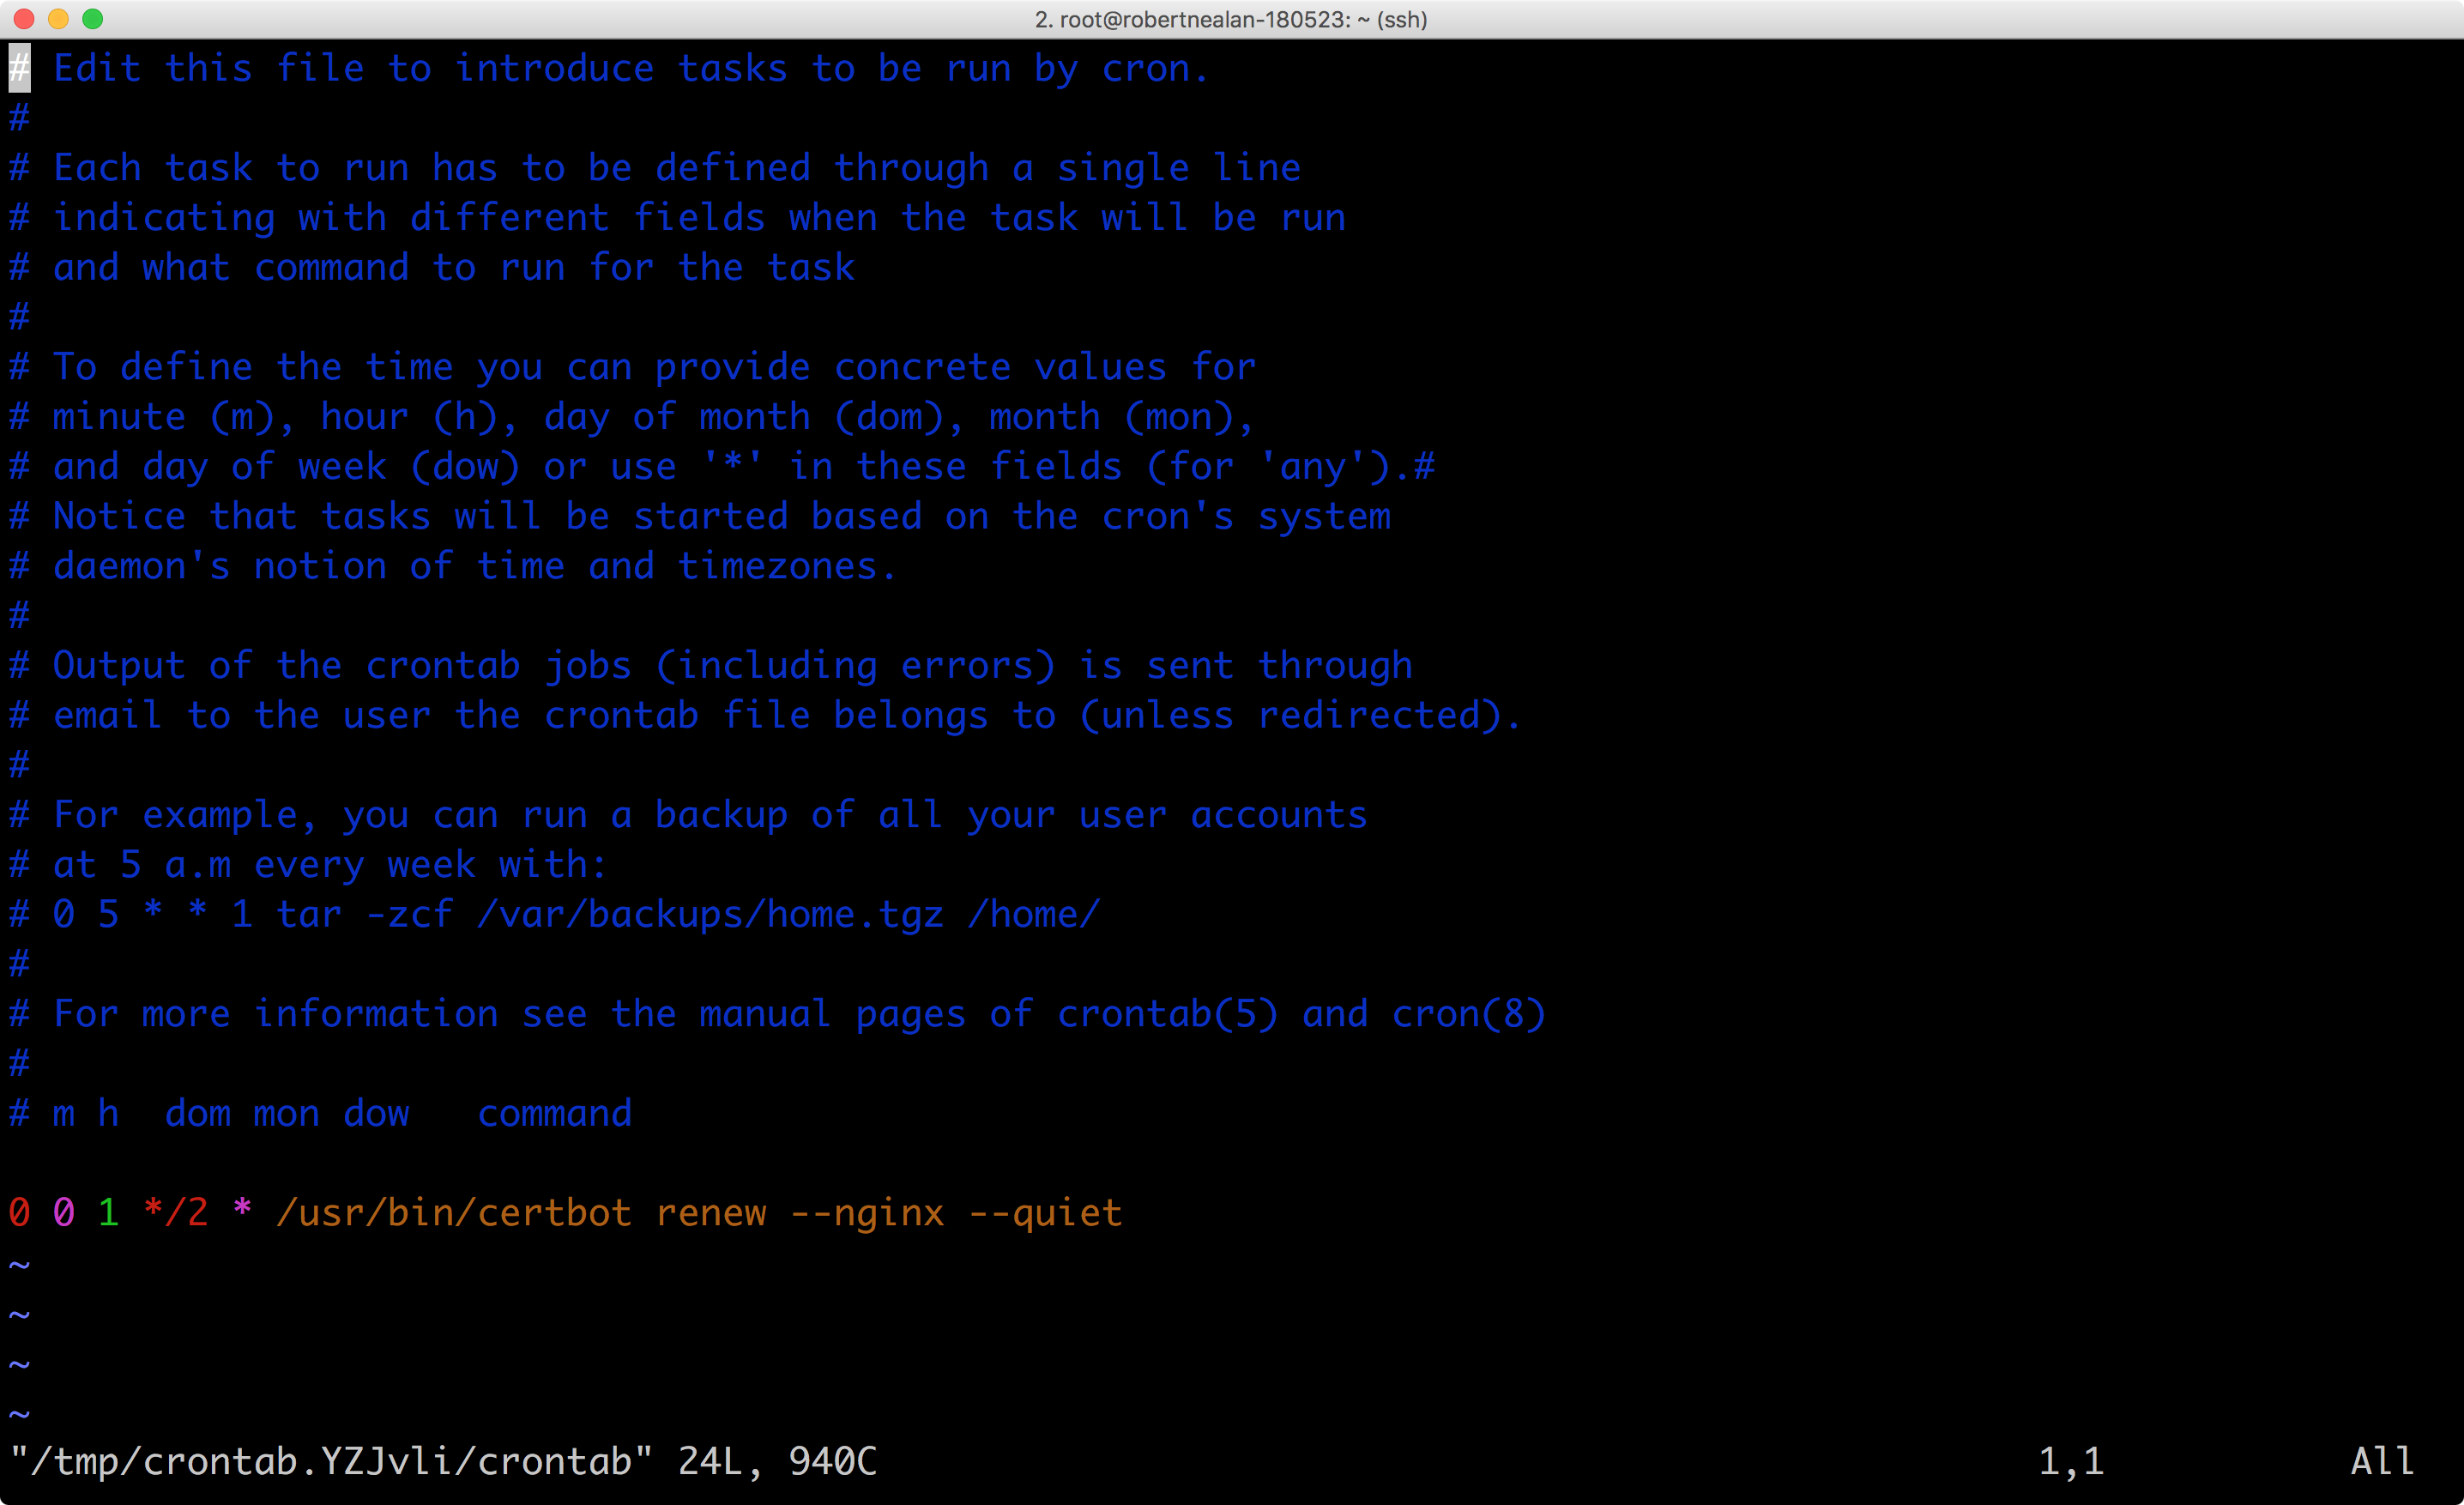
/usr/bin/certbot renew --dry-runto make sure it'll work as expected. Next go ahead and runcrontab -ein your server terminal, and you should see something similar to the image below. On the last line add0 0 1 */2 * /usr/bin/certbot renew --nginx --quiet, which tells cron to rerun the certificate renewal for you on the first day of every other month. With this cron in place you can safely ignore the renewal emails from LetsEncrypt.
And that's it! If you have any issues or find an error feel free to comment on the gist, tweet at me, or message me via the contact page.
Nginx Config
Other Basic Ghost Setup Tasks
Redirecting From non-www to www Instead
I've personally always favored non-www addresses, if you prefer to have the www version then make sure to use www.yourdomain.com during the CertBot registration, and subsequently make sure the server_name directives in the Nginx default conf file have www.yourname.com rather than yourdomain.com.
Locking Down Your Server
Coming soon!
Setting up Email Sending
Coming soon!
Reference Links
- CertBot Documentation: https://certbot.eff.org/lets-encrypt/ubuntuxenial-nginx
- Ghost Production Setup: https://docs.ghost.org/docs/install#section-create-a-new-user
- Ghost Mail Configuration: https://docs.ghost.org/docs/mail-config
- Node Version Manager (NVM): https://github.com/creationix/nvm
Updates
- August 11, 2016: Updated guide to add steps breaking apart enabling HTTP, verifying LetsEncrypt, and enabling HTTPS.
- October 19, 2016: Updated the Nginx config to have the default root directory as
/var/www/ghostinstead of just/var/www. - January 24, 2017: Updated the Nginx config to fix a bug where www to non-www redirects wouldn't occur properly on HTTPS URLs, and added instructions on how to redirect from non-www to www instead.
- July 3, 2017: Removed lines 59-61 in the Nginx config Gist and code snippet, which previously manually routed the robots.txt and sitemap.xml, as Ghost now handles these automatically for the past several major versions. Huge thanks to both Tom Blackshire & Grant Whinney for both giving me the heads up!
- May 23, 2018: Fully overhauled the post to use DigitalOcean's newer Ghost Droplet, Ubuntu 16.04, the new Ghost CLI, and the latest version of LetsEncrypt's CertBot.
If you're worried about only having 512mb of memory feel free to upgrade, though this blog has handled upwards of 650 concurrent visitors without skipping a beat. ↩︎
If you're interested in learning more about Nginx configuration you can read up on it on their official wiki, https://www.nginx.com/resources/wiki/start/. ↩︎